[MIT6.S081]Lab6: Multithreading
# [MIT6.S081]Lab6: Multithreading
Lab: Multithreading (mit.edu) (opens new window)
# Uthread: switching between threads
这个 assignment 比较简单,我们要实现线程之间的切换,如果读懂了进程切换的源码的话其实就很好做。
对于 kernel/swtch.S 传入了两个参数 old 和 new,我们将当前 cpu 寄存器的上下文保存到 old 里面保存,然后将 new 放到 cpu 寄存器中,获取控制权。
我们先给每个线程定义一个一模一样的 struct context
// uthread.c
struct context {
  uint64 ra;
  uint64 sp;

  // callee-saved
  uint64 s0;
  uint64 s1;
  uint64 s2;
  uint64 s3;
  uint64 s4;
  uint64 s5;
  uint64 s6;
  uint64 s7;
  uint64 s8;
  uint64 s9;
  uint64 s10;
  uint64 s11;
};

struct thread {
  char       stack[STACK_SIZE]; /* the thread's stack */
  int        state;             /* FREE, RUNNING, RUNNABLE */
  struct context context;
};
之后我们模仿 swtch.S,在 uthread_switch.S 添加实现的代码
// uthread_switch.S
thread_switch:
	/* YOUR CODE HERE */
	sd ra, 0(a0)
	sd sp, 8(a0)
	sd s0, 16(a0)
	sd s1, 24(a0)
	sd s2, 32(a0)
	sd s3, 40(a0)
	sd s4, 48(a0)
	sd s5, 56(a0)
	sd s6, 64(a0)
	sd s7, 72(a0)
	sd s8, 80(a0)
	sd s9, 88(a0)
	sd s10, 96(a0)
	sd s11, 104(a0)

	ld ra, 0(a1)
	ld sp, 8(a1)
	ld s0, 16(a1)
	ld s1, 24(a1)
	ld s2, 32(a1)
	ld s3, 40(a1)
	ld s4, 48(a1)
	ld s5, 56(a1)
	ld s6, 64(a1)
	ld s7, 72(a1)
	ld s8, 80(a1)
	ld s9, 88(a1)
	ld s10, 96(a1)
	ld s11, 104(a1)

	ret    /* return to ra */
我们在创建一个线程的时候,先要将线程的 ra 也就是返回地址,之后执行位置的开始设置为运行的函数起点也就是函数指针 func,栈指针也指向栈顶 t->stack + STACK_SIZE
void thread_create(void (*func)()) {
  // ......
  // YOUR CODE HERE
  t->context.ra = (uint64)func;
  t->context.sp = (uint64)t->stack + STACK_SIZE;
}
最后我们在 thread_schedule 函数中调用之前实现好的 thread_switch 即可。
需要注意的是,我们是要将线程从 t 切换到 next_thread
void thread_schedule(void) {
// ......
if (current_thread != next_thread) { /* switch threads? */
next_thread->state = RUNNING;
t = current_thread;
current_thread = next_thread;
/* YOUR CODE HERE
* Invoke thread_switch to switch from t to next_thread:
* thread_switch(??, ??);
*/
thread_switch((uint64)&t->context, (uint64)¤t_thread->context);
} else
next_thread = 0;
}
# Using threads
这个 assignment 更简单了。
我们直接两个任务一起完成,只需要在 put 和 get 函数中进行赋值的地方上把锁就可以了。
需要注意的是,我们只需要给 put 的复制和 insert 这部分代码上锁,这样一来我们相当于给每一个 table[i] 都上了把锁,尽可能降低了锁的粒度。
static void put(int key, int value) {
  int i = key % NBUCKET;

  // is the key already present?
  struct entry *e = 0;
  for (e = table[i]; e != 0; e = e->next) {
    if (e->key == key)
      break;
  }
  pthread_mutex_lock(&lock);
  if(e){
    // update the existing key.
    e->value = value;
  } else {
    // the new is new.
    insert(key, value, &table[i], table[i]);
  }
  pthread_mutex_unlock(&lock);
}

static struct entry* get(int key) {
  int i = key % NBUCKET;

  pthread_mutex_lock(&lock);
  struct entry *e = 0;
  for (e = table[i]; e != 0; e = e->next) {
    if (e->key == key) break;
  }
  pthread_mutex_unlock(&lock);
  return e;
}
# Barrier
这个 assignment 要实现屏障同步机制,
我们维护了一个数据结构 bstate,bstate.round 表示当前是第几个 round,每个 round 里所有线程会同步,最后一起被唤醒,而 bstate.nthread 表示到达当前 round 的线程数量。
我们每次一个线程进入 barrier 后,会先令 bstate.nthread++,如果此时其值等于 nthread,则表示所有线程都到达了,那么此时 barrier.round 要加一,另外 bstate.nthread 要清零,然后我们唤醒所有进程,结束这一轮 round。而如果还小于 nthread,那么我们就要令该线程进入等待状态。
另外要注意由于 bstate,是所有进程共享的,所以要上锁防止数据竞争。
static void barrier() {
  // YOUR CODE HERE
  //
  // Block until all threads have called barrier() and
  // then increment bstate.round.
  //

  pthread_mutex_lock(&bstate.barrier_mutex);
  bstate.nthread++;
  if (bstate.nthread < nthread) {
    pthread_cond_wait(&bstate.barrier_cond, &bstate.barrier_mutex);
  } else {
    bstate.nthread = 0;
    bstate.round++;
    pthread_cond_broadcast(&bstate.barrier_cond);
  }
  pthread_mutex_unlock(&bstate.barrier_mutex);
}
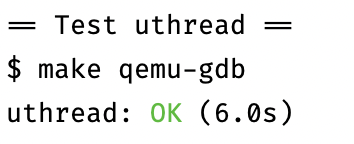
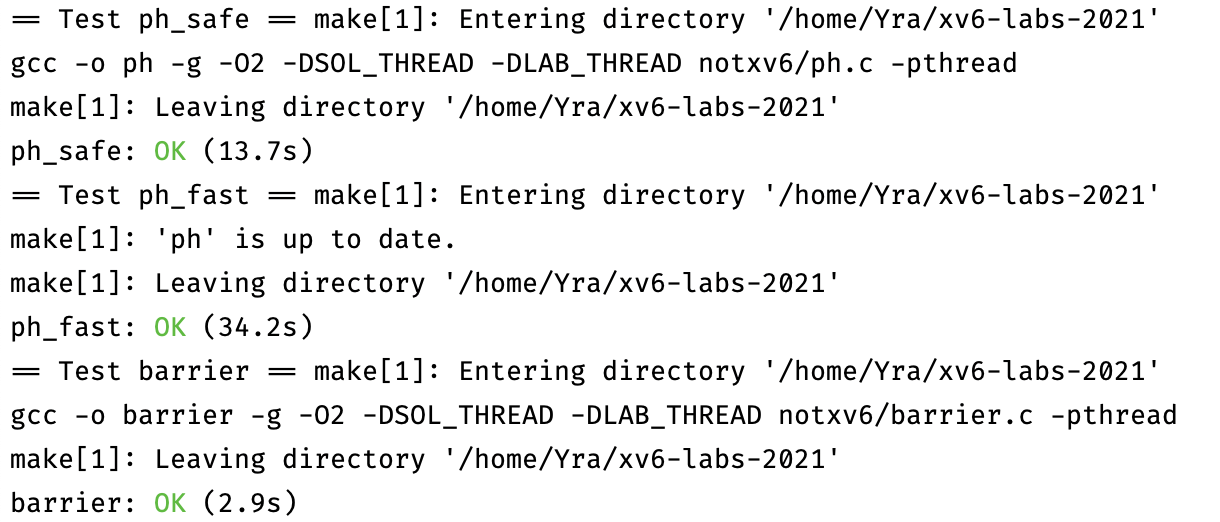
# 实验结果